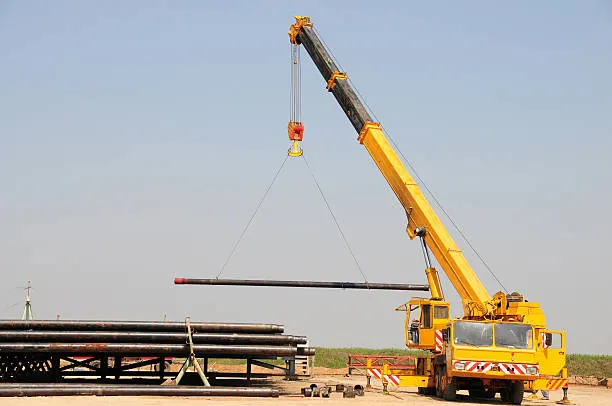
In the process of crane maintenance, you may encounter some common problems, such as oil leakage of the crane hydraulic cylinder, movement is not flexible, etc. In order to ensure the normal operation of the crane, it is very important to find and solve the problem in time.
Material Preparation
Before the crane hydraulic cylinder removal service, you need to prepare the following tools and materials:
- Wrench set
- Corrugated pipe locking material
- Work gloves and goggles
- Lighter or blowtorch
- Detergent and clean cloths
After you have prepared the above materials, we can begin to remove the crane cylinder.
Preparatory Work Before Removing Crane Cylinders
Before removing the crane hydraulic cylinder, we need to take certain precautions to ensure safety:
- Turn off the crane engine, cut off the power supply, and pull up the crane rod.
- Use vehicle handbrake and cushion wood to fix the crane to prevent its accidental movement.
- Ensure that the cylinder has been emptied to avoid leakage of hydraulic oil during work.
Crane Cylinder Removal
Step 1: Loosen the bellows
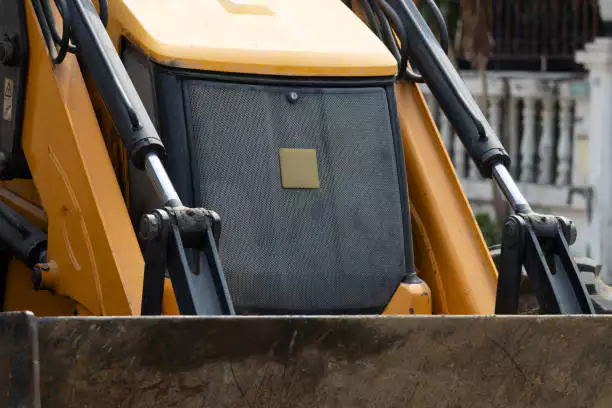
Use a wrench to remove the fastening nuts on both sides of the bellows connecting cylinder. Before unscrewing the nut, you can first use a bellows locking material, which can help you prevent oil leaks and loose nuts.
Step 2: Cut the hydraulic line
Shut down the hydraulic system and release the pressure to zero. Use a wrench to unscrew the nut that connects the hydraulic pipe to the cylinder, and then gently move the pipe away from the cylinder. Note that there may be a small amount of residual hydraulic oil flowing out of the pipe, please do a good job of protection.
Step 3: Remove the cylinder
Check that the crane cylinder is tightly connected to other components. If available, use a wrench or rubber mallet to gently hammer or tap to loosen the connection. The cylinder is then slowly lifted away from its installation position to ensure smooth operation to avoid accidents.
Step 4: Clean and repair
Once the crane hydraulic cylinder is removed, clean the cylinder and surrounding area with a cleaner and a clean cloth. Inspect the crane cylinder for damaged or worn parts and replace parts as needed.
Step 5: Reinstall the cylinder
Before reinstalling the cylinder, you need to make sure that all repairs have been done and that the parts are in order. Reassemble the cylinder in reverse order and ensure that all connection nuts are secured.
Step 6: Check
Make sure the cylinder is tested after reinstallation. Check the crane movement is normal, and ensure that the hydraulic system is working well. If everything is normal, congratulations you have successfully completed the removal and repair of the crane cylinder.
Conclusion
The removal and repair of the crane cylinder requires a certain amount of professional knowledge and experience, if you are not sure whether you can safely and efficiently complete the task, please seek the help of a professional technician. Through the correct disassembly and maintenance method, we can solve the problem of the crane hydraulic cylinder in time to ensure the normal operation of the crane.